Showing posts with label jacket. Show all posts

Friday, August 26, 2011

A light grey denim jacket


Recently I made dark blue denim pants and I thought it would be nice to combine these with a denim jacket.

Since it's not so easy to find a compatible denim fabric, I was lucky to come along this light grey one.

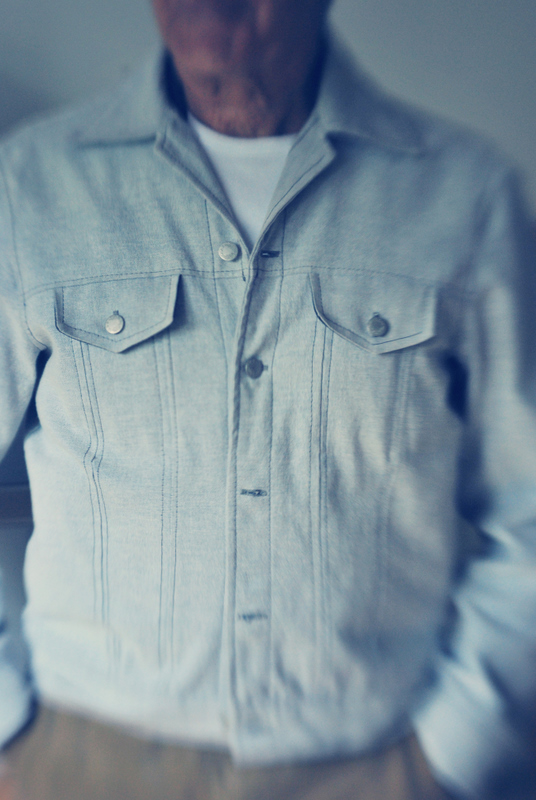
The jacket I made has the same pattern as the one I presented here about a year ago, made from a shiny leather-looking fabric (from the market in Ridderkerk).

So the two front sides each have four parts, a horizontal top one and three vertical lower ones.with an inside pocket in the seam connecting the upper and the lower parts.
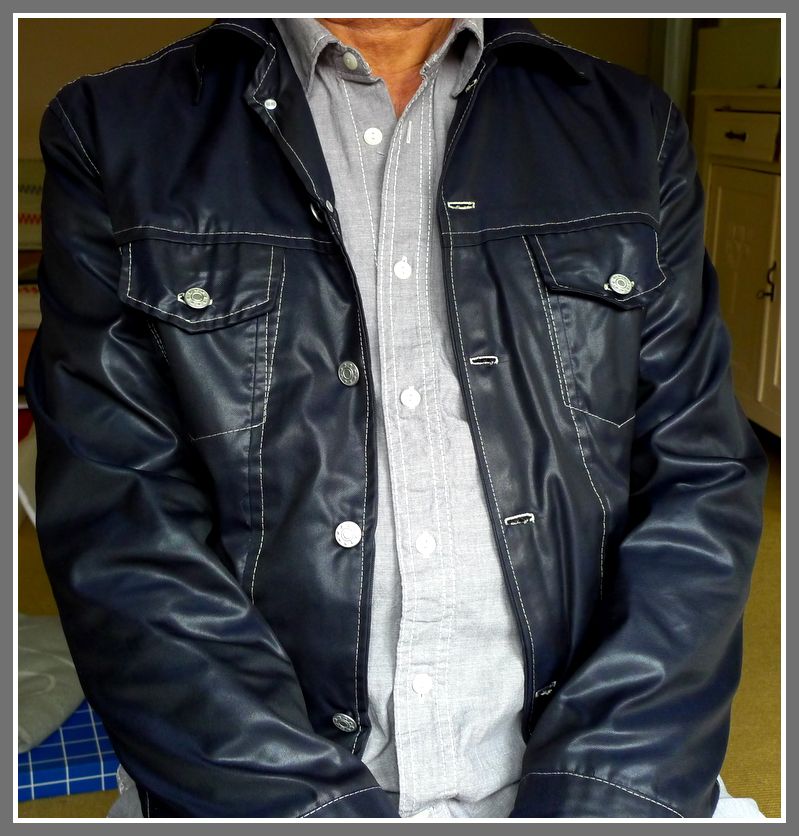
 

The same goes for the backside, in a different arrangement of course and obviously without pockets in the horizontal seam.

The photo's depicting my new jacket have been made with a special lens, through which a soft focus effect is achieved. Quite different, eh?
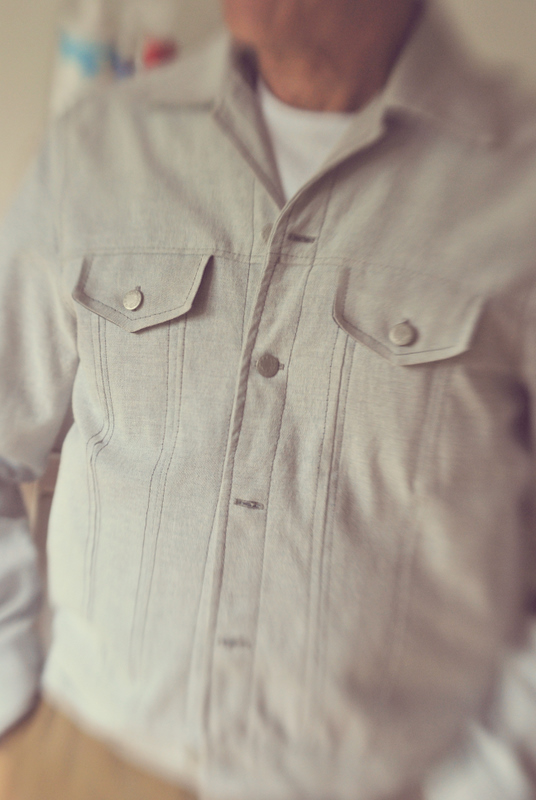


This jacket has an invisible special feature: inside pockets.

I made them from a strip of fabric which is fixed by stitching it together with the seam of the placket, the seam of the belt and the side seam, dividing the whole into two parts by topstitching through one of the vertical seams.

This provides a lot of room to store stuff, which you should not do of course, unless you want to spoil the model.

Friday, June 17, 2011

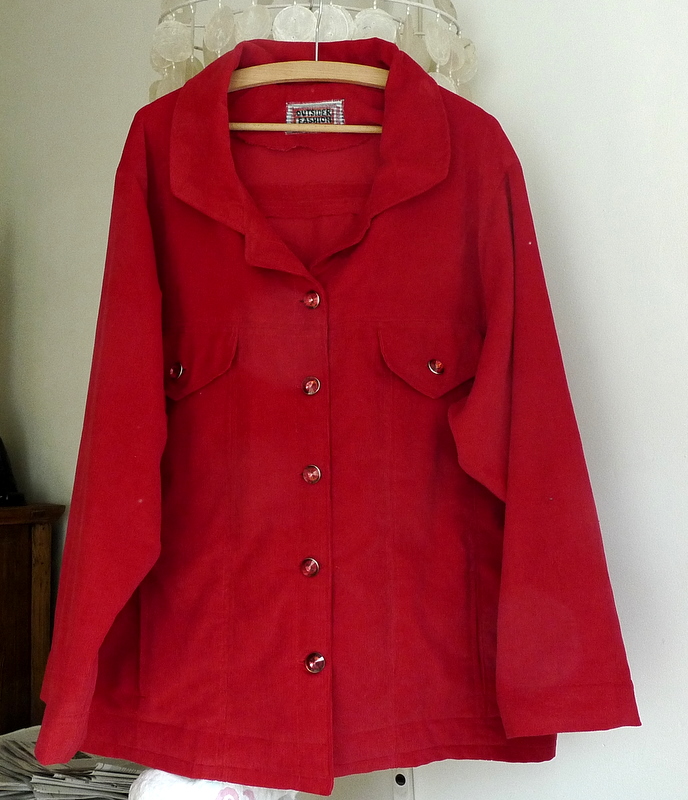
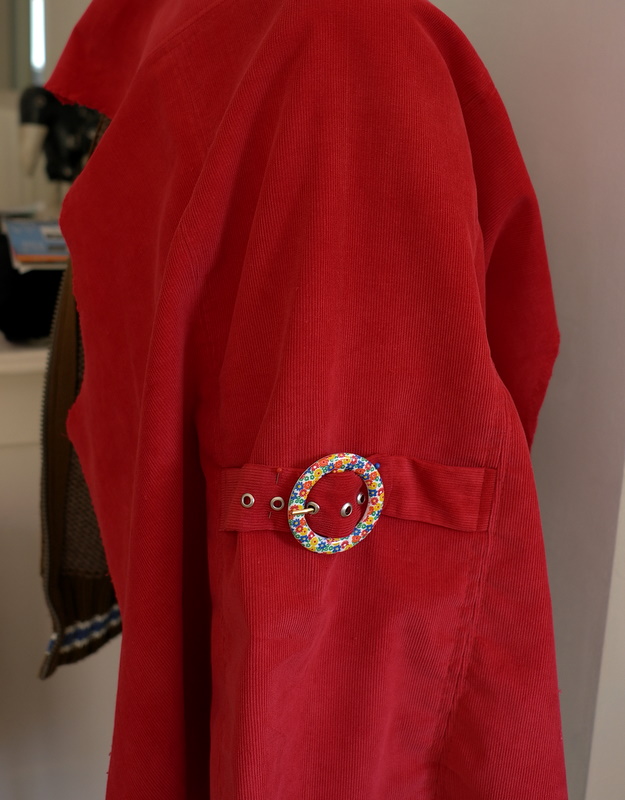
A fine waled red corduroy jacket


I recently made a lady's black canvas jacket for a friend of mine.

It happened to be a scucces. So I did not hesitate to make another jacket, this time from a fine waled red corduroy fabric

Actually, the two of us had bought both fabrics at the same day, shopping around in Amsterdam's Albert Cuyp Market. So this project already was in prospect., the black one being a trial version.


Basically this red jacket in it's model is like the black one. But the impression it makes is quite different.

For example because of the arrangement and the lustrous effect of the buttons and the absence of top stichting with a different coloured yarn.

My friend once more was happy with this this jacket. It suits her well. And I liked to assemble it.


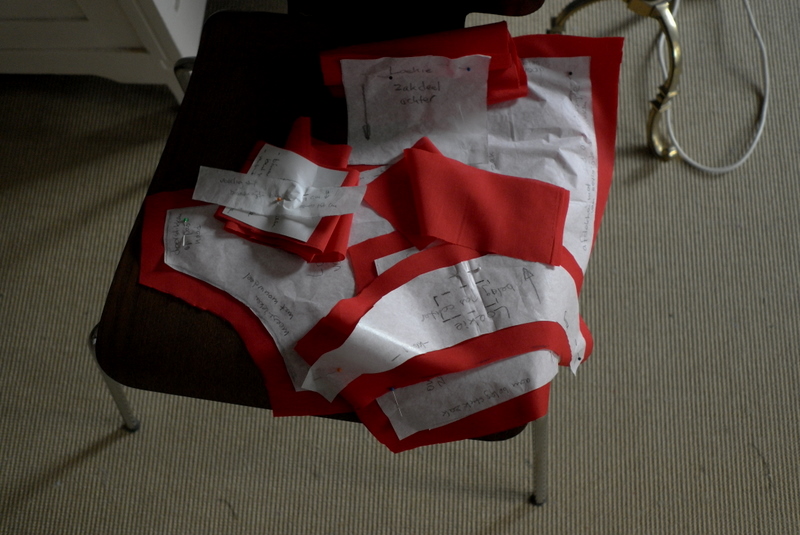
Assembling? Indeed, above picture shows some of the cut out parts of this jacket that urgently need to be assembled.

Sunday, June 5, 2011

A black canvas jacket


This blog is about making men's clothes, but of course occasionally I like to do ladies wear. 

I made a jacket for a friend of mine. She owns a blue denim jeans jacket she is very fond of, and she sure would like to have another one of the same size, but with a different appearance..

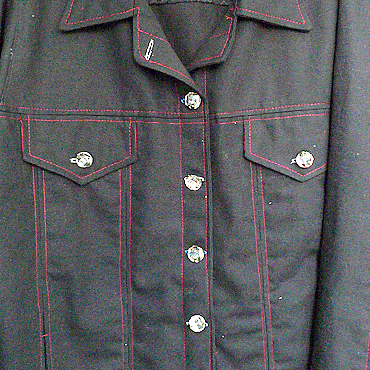
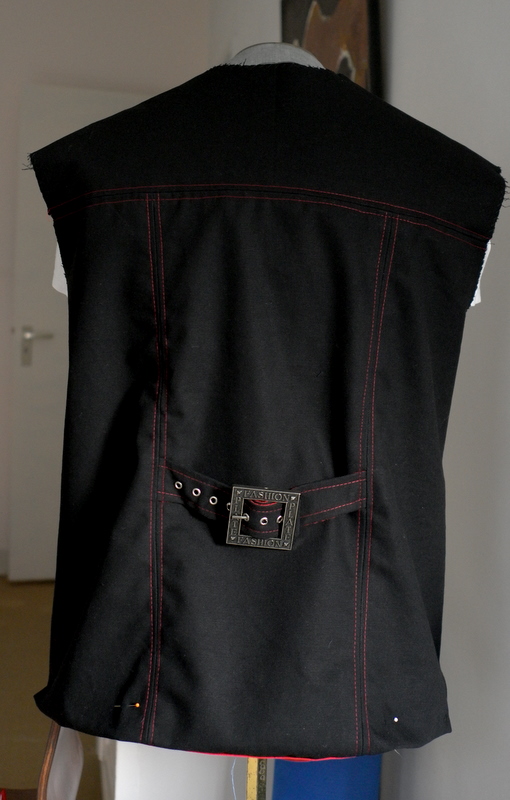
Departing from the overall dimensions of her jacket, I made my own model, which is loosely based upon the lay out of the classic jeans jacket. So it has a joke, three parts on the back side, and three parts on the front side with pockets on top of the middle ones and small hidden pockets in the outer vertical seams.

The fabric is a black canvas with red top stitchings as an accent. 


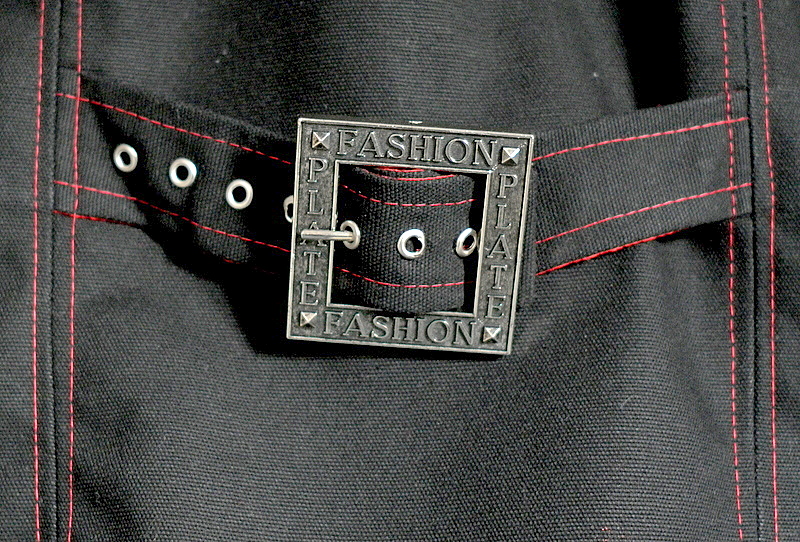
The belt with the buckle on the middle part of the backside is another accent.

The front side has red top stitchings too. The button holes have been lined with a silvery yarn and the buttons themselves sparkle like little stars.


The result is quite another appearance of the classical jeans jacket. This surely was a nice project to do,

Monday, August 23, 2010

A gentleman with a nice coloured jacket


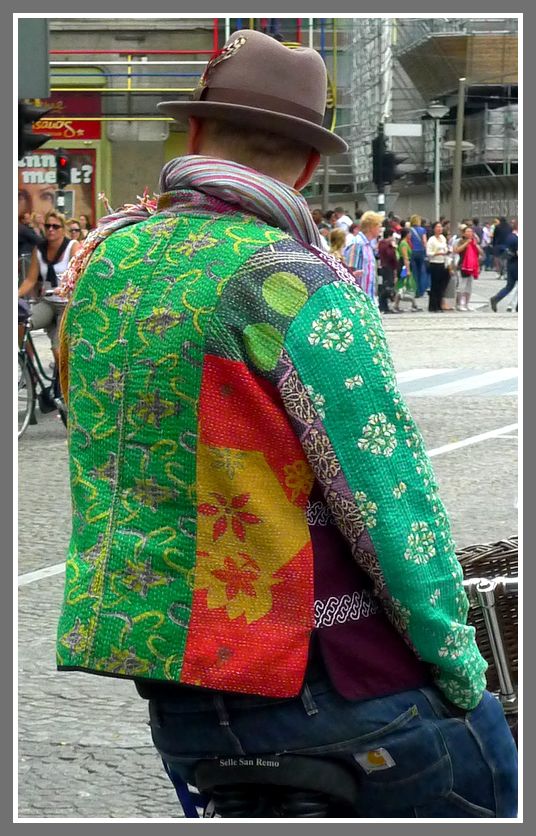
No, I did'nt manufacture this jacket myself. Neither am I the one on the bike.


This picture is just a random shot, while walking in the centre of Amsterdam, near Dam square.


I really do like this kind of outfit: hat, scarf, jacket, jeans, sneakers....

Bravo, Sir, whomever you may be.

The jacket seems to be inspired by desigual,  but it also has an indian texture.

Spanish firm Desigual has its own shop in the centre of the city, and there are some retailers. 

Of course, in Amsterdam you will find a lot of shops selling Indian clothes and Indian fabrics.

Sunday, August 15, 2010

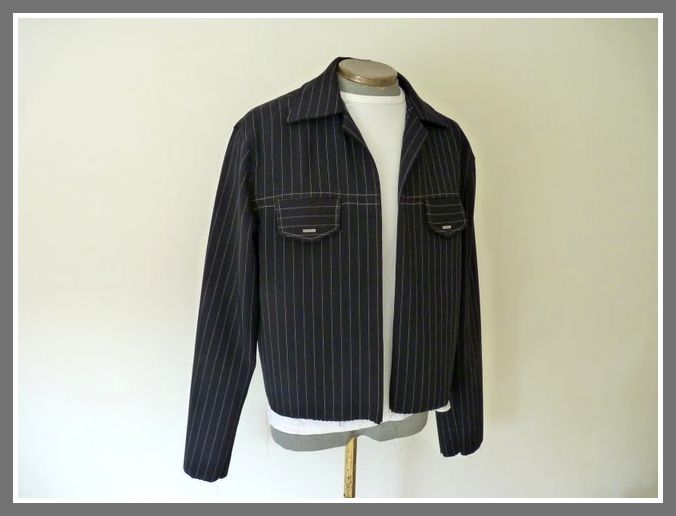
What about the pinstriped jeans jacket?

What about? It is finished, yes!

It began like this:


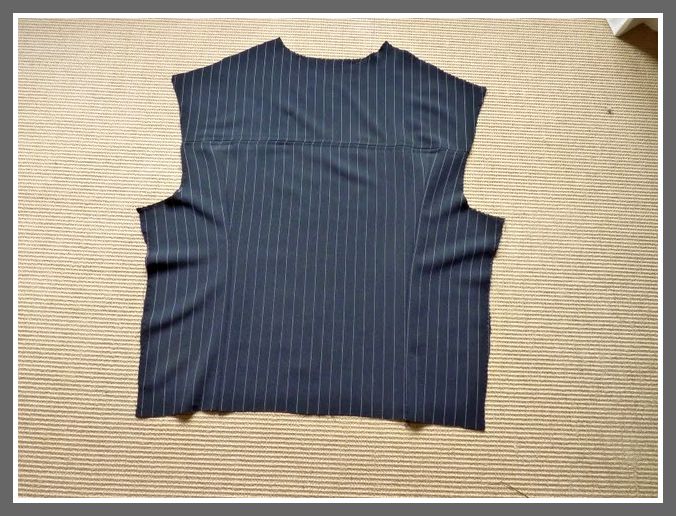
This is the backside. It has four parts. In dutch we would call the upper one a "pas", in english probably a "pass" (in this model it is not a yoke). There is a lower part in the middle, that needs no comment.. The two side pieces provide the fitting, that's why they wrinkle when laying flat.

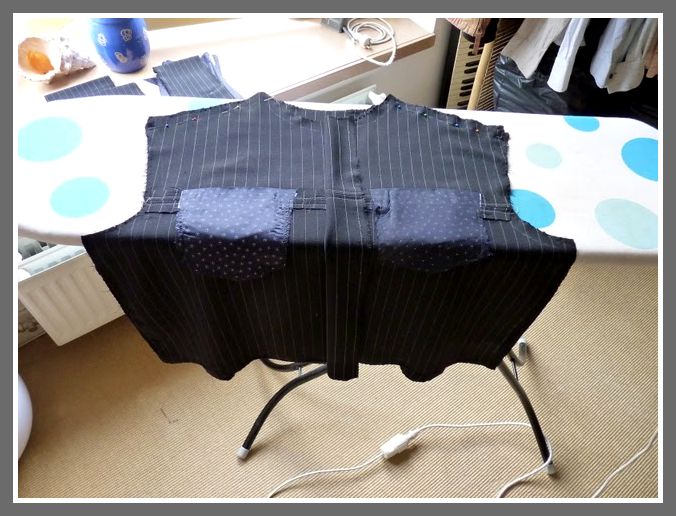
And here is the front side., shown from the interior:


The front of the jacket has an upper and a lower part. Two front pockets have been adjusted on the seam between upper and lower part. The pockets have been made from the fabric that will also be used for the lining, a beautifil dark blue soft shining fabric, with small round motifs.

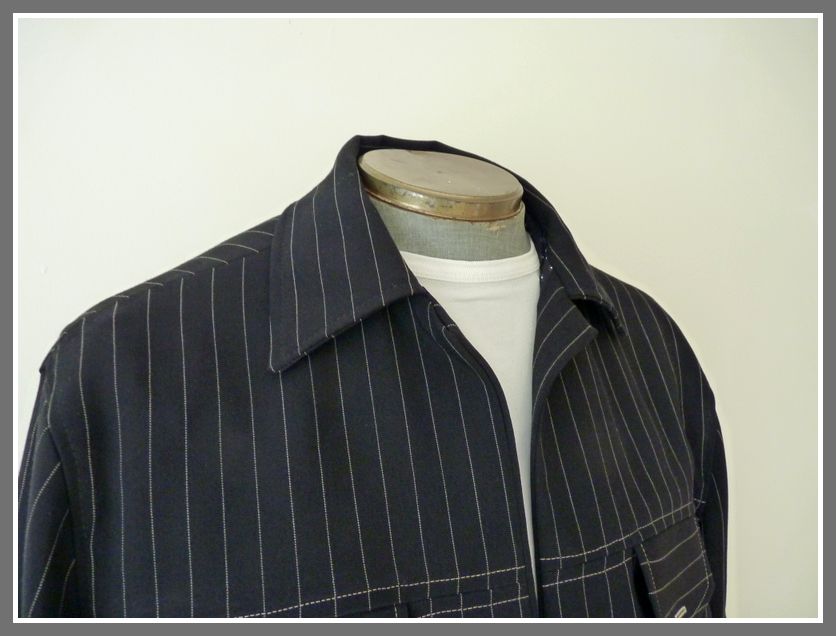
Next, after connecting front and backside, and after setting the sleeves and the collar, you get this:


It is going to look like a jacket...

By fixing the collar, the lining has been fixed too, another construct of front, backside and sleeves.

So, just a waist belt, cuffs, buttons, buttonholes, and there you are.

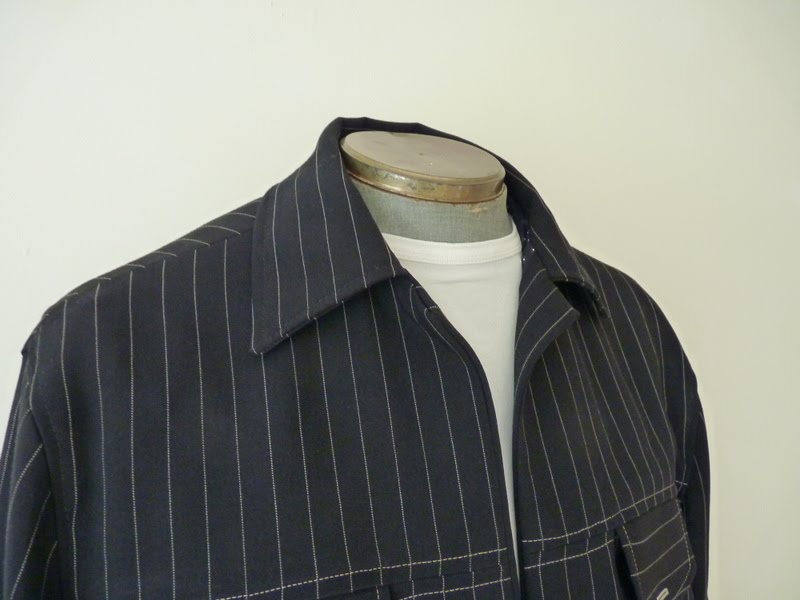
The pinstriped jeans jacket is finished.


The story is quickly told. But, making such a jacket takes time. I guess it will take me some 20 - 30 hours to complete it, depending upon unexpected setbacks I encounter.

Thursday, August 12, 2010

Et voila....


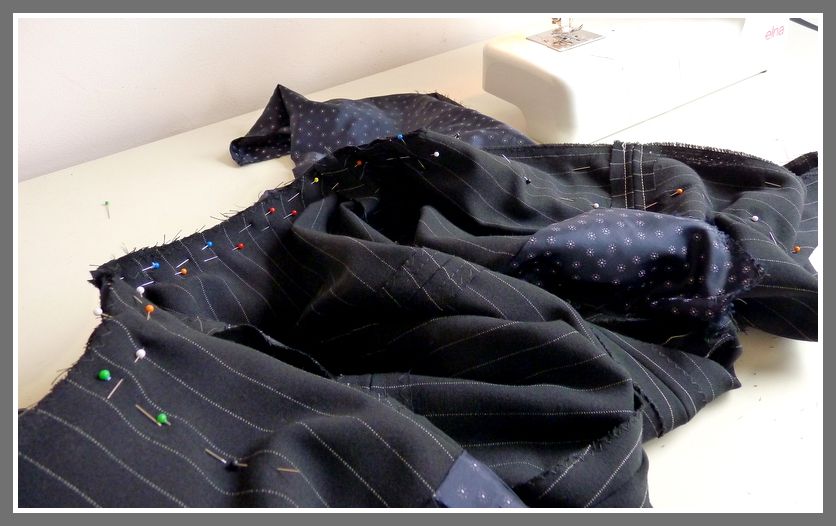
Here is another parade of pins......Lining and fabric of the jacket under construction are pinned together.....the collar is hidden between the two parts.....


It's like cooking. You combine three or four ingredients in the correct quantities, put that combination in the oven, and after some time, just take it out.....et voila....


So, combine fabric, collar and lining together, stitch carefully, no heating, no waiting, just turn it around ....


et voila...


This is what you get, assumed elements have been well arranged in advance.


Just like when cooking, I am always pleased when the operation is successful again.


This project, making a pinstriped jeans jacket, is to be continued.


Still have to add a waist belt and cuffs.  The closure of the jacket will be with buttonholes and jeans buttons.

Can't wait to see the final result.

Tuesday, August 10, 2010

Setting a sleeve into a jacket


Recently I have been making a jacket from a half woolen fabric with pinstripes. It will be kind of a jeans jacket and it probably is not very usual to have a pinstriped jeans jacket.

Well, I did like the pinstriped fabric. However, I do not like pinstriped classic suites. So I decided to give the jeans jacket model a try, and just await what would be the result.

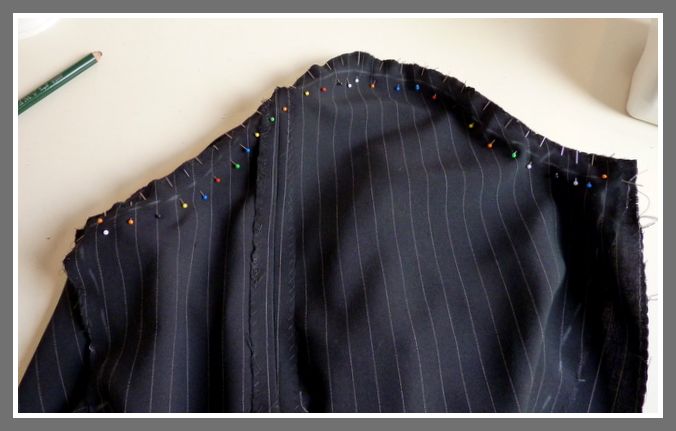
The picture shows a mass of pins, meant to fix the sleeve into the jacket. That is my way of setting sleeves.

People in the clothing industry would not use such a lot of pins. They fix beginning, end and top of the sleeve and adjust the parts with their fingers, giving "ease" while stitching.  

There is a scholastic way of setting a sleeve into a jacket:  handsewing a thread in the upper part, pulling this thread slightly to "ease" the upper part, and then stitching the sleeve to the front/back part. 

Maybe I would use this trick when doing a classic outfit, but now I was doing something non-classic.

Well, all these pins may look like a mess, but when, after stitching, you turn the inside outwards, the result will be like this:


Nice, eh?

The pinstripes of the front and of the back are not exactly "in line". I have no idea if this would be a must. I have seen pictures of jackets from men's fashion shops with the same appearance, so I do not feel too bad about this.

And if anybody has something to say about this, I always can put forward this is kind of an artistic freedom, ha ha...

In a future post I will show the finished jacket.  I need some time to complete it

Monday, August 9, 2010

A fabric from the market at Ridderkerk


Some time ago we went to Ridderkerk, south of Rotterdam, to see Sandra and to do some shopping at the weekly market over there. 

A vendor at that market has a stall with some special fabrics. She sells all kinds of fleece, that can be used to make nice warm coats for galgo's, needed in winter time by spanish shelters who are at the rescue of these much abused dogs. (More about this later).

We bought meters of fleece. 

And we came along some fabric that looked rather waterproof. Back home we did a test, but no, it was'nt waterproof at all. 

It was rather synthetic, shiny and looking leatherette, but it was definitely not waterproof. 

No good for galgo coats.

So I got the idea to use it to make a jacket for myself. The picture above shows the result, a view from the frontside. 


Here is a view from the backside. .Me, leaving to do some food shopping (in dry wheather, of course...).

It's like a jeans jacket, somehow, and it has jeans buttons, but because of the shiny effect, the look is quite  different.

That's what I like. Using fabrics in a way that is different, making unexpected combinations, but stylish.. 

I have been making my own clothes for some twenty years now. A men's fashion shop will see me just for t-shirts, sweaters and an occasional pair of jeans.

But trousers, jackets, shirts, gilets I make myself. 

And galgo coats, of  course.