
I like looking around at markets and see if there is a seller of fabrics and if he or she has something interesting to make a piece of clothing.
Some days ago I came along this dark brown fabric with embroidery, and I thought it would be a good idea to fit it into a shirt.
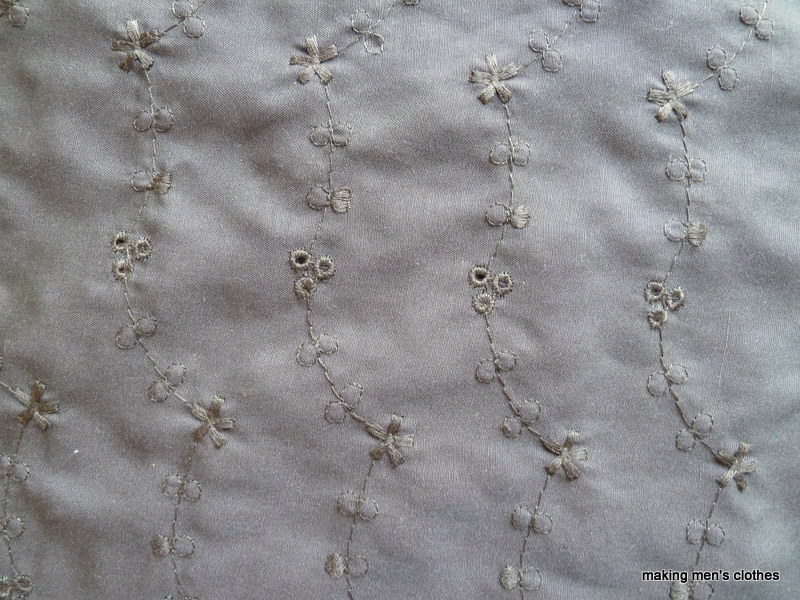
The fabric is smooth like silk, but I suppose it's from simple materials, probably a mixture of cotton and synthetic yarn. On the market you will never know....
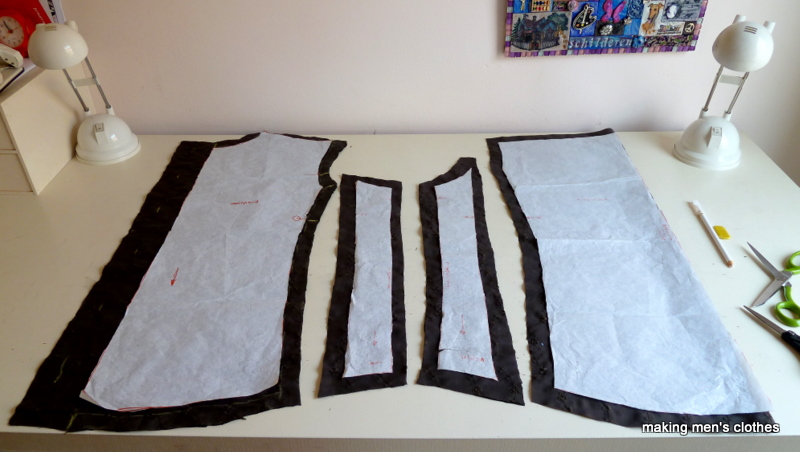
Here are the main elements of the pattern I use for making shirts.
From left to right: the front part with an extra allowance for the placket, two parts which together form the side of the shirt and the back part which borders the fold of the folded fabric. I arranged these parts in such a way that the design of the embroidery would be vertical in the finished shirt.
In the upper parts of the shirt, the yoke, the collar and the collar stand, the design of the embroidery is horizontal:

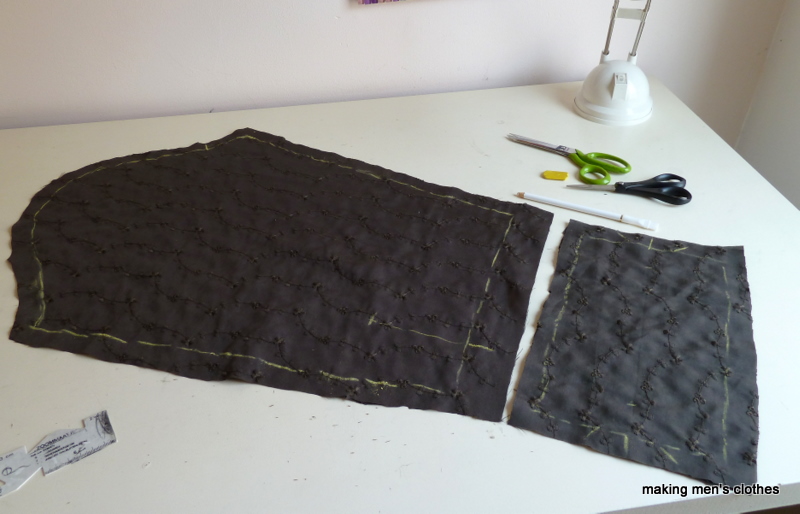
And finally the sleeve (desgin is vertical) and the cuff (design is horziontal)
The shirt will be put together approximately in the order as above, in this way:
-assemble front (front part + side part, left and right);
-assemble back (back part + yoke + left and right side parts
-combine front and back side by stitching the shoulder seam
-fix collar and collar stand
Having done this the sewing will look like this:

To complete the sewing:
-fix the sleeves in the armholes, taking care of what is left and what is right,
-stitch in one rush the seam of the sleeve and the side seam, left and right
-fix the cuffs, left and right.
And there you are....well, maybe you also want a front pocket and why not some decorative top stitching with a yarn in a contrasting color, like I did......and of course some buttons and button holes would be comfortable.....

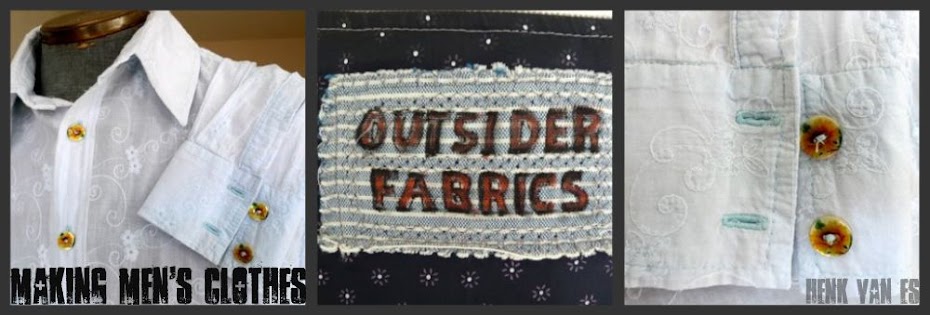
I do like the result, especially when combined with that scarf as shown in the first picture.
No comments:
Post a Comment