
Autumn is coming, so I have been looking around for a fabric that would be suited to make a new shirt for that season.
Late august we happened to be in Elburg, from old a small fortified town facing what once was an inner sea in the Netherlands. Nowadays closed from the world seas by a large dike, this sea has become a lake (of which large parts meanwhile have been reclaimed in order to obtain agricultural area).
And Elburg has become a touristic spot, with a lot of terraces and shops.

aerial view of Elburg showing the typical lay out of a former fortified town
A gray blue cotton fabric looked very fine to transform it into a shirt for the autumn season, and indeed, once manufactured, the shirt turned out to be a rather comfortable dress.
The pattern of the shirt is the one I so far always have used. Guess it's time to find a new pattern, preferably one that is a bit stylish.
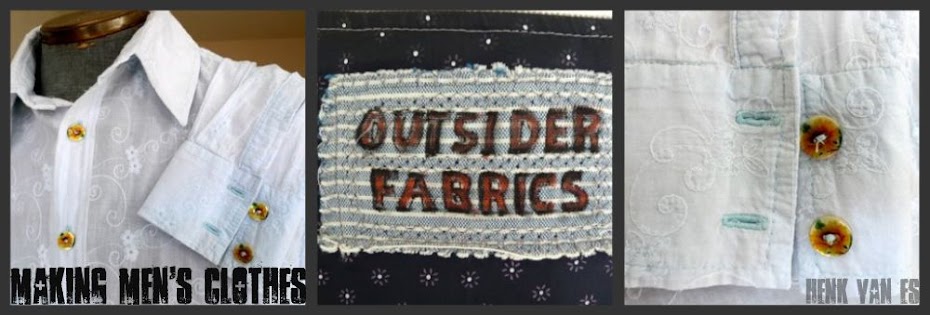
The shirt has dark blue buttons, somewhatt transparent and shiny, bought in the Knopenwinkel (Button shop) along one of the canals in the centre of Amsterdam

The tips & trics section of this post is about setting the collar of a shirt. In a former post I said that setting a collar doesn't just happen and can raise problems.
Setting a collar
Most sewing instructions say you should attach the front- and backparts of the collar stand to the collar, next sew the backside collarstand to the backside neck opening, then fold inward the seam allowance of the front collarstand, and finish by throughstitching this fold along the seam of the backside collarstand (if you can follow me.....)
It can be done in this way, but I always have problems in neatly fixing the left and right curves of the collar stand and connecting these curves correctly to the folded front parts of the shirt.

This way of working makes it possible to match the starting points of the left and right curvelines with the folded sides of the left and right front parts of the shirt. In case there is some deviation, it is easy to adjust this, either by adjusting the curvelines, or by adjusting the folds of the frontparts.

Once I am satisfied that the curvelines of the backside collarstand match with the folds of the front parts, I connect the inside collarstand (which already has been stitched to the collar) to the backside collarstand, good sides facing each other, followed by the usual routine (folding inward the seam allowance of the front collarstand, and finishing by throughstitching this fold).
Wow, a lot of text for a rather minor issue....
No comments:
Post a Comment